
https://soeithelp.stanford.edu/hc/en-us/articles/226556748-Restoring-files-with-Crashplan
Information Technology – CrashPlan
Introduction to CrashPlan and how to restore files:
Open CrashPlan
1. On Windows machine the crash plan icon is located in the “show hidden icons” box located in the bottom right corner of the desktop.
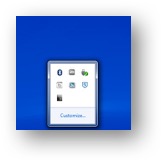
2. On MAC the icon is located in the upper menu bar. It looks like a house (see image)

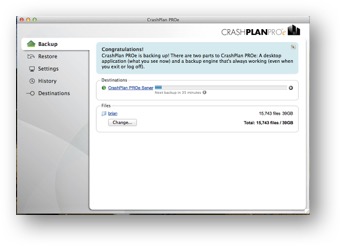
Clicking on the icon (double click for windows) will open the crash plan manager screen. The main screen shows the home folder being backed and the total size of data being backed up.
Restoring Data
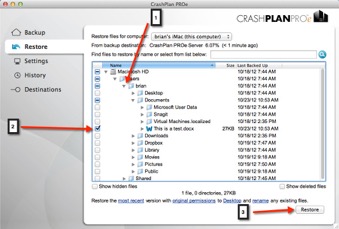
Click on “Restore” in the CrashPlan window to enter the restore option window.

-
Click on the arrow to expand the menu option to find the data to restore.
-
Select the check box(s) for the files that you wish to restore on your computer.
-
Click the “restore” button to start the restoration process.
History
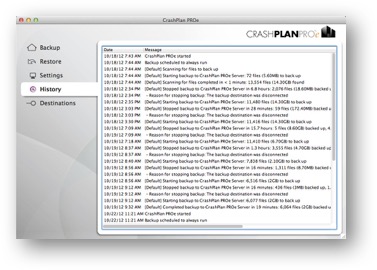
You can check the history of backups and restoration by clicking on “History”. This is a fast way to see what is happening within your CrashPlan application.
Cell Data Connection (Tethering)
If you use a lap top and you do not want to have crash plan use your cellular data connection. Open Network setting in CrashPlan (see image).
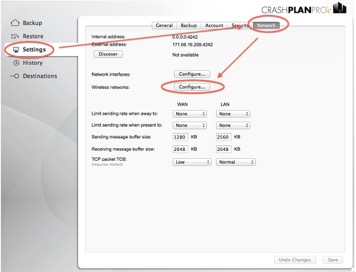
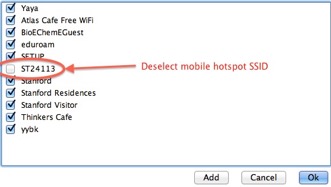
Select the wireless networks you want CrashPlan to use (IE: Stanford). Tell CrashPlan not to sync over your cell phone hotspot connection by deselecting that service set identifier (SSID)
You’re Finished
This is an overview of the common areas that users access. If more information is needed or help configuring CrashPlan please send an email to: desktop@vptlhelp.zendesk.com
0 Comments